Dahlfin II

Dahlfin II |
|
Last updated: April 2, 2002 |
This is a list of the things I can remember doing to the Dahlfin. There may be more, I am waiting for a more complete list from my parents. --Peter
We noticed that the deck was pulling up a bit near the chain-plates and that it was leaking. This was the leak that followed the teak trim under the windows and dripped way back at the chart table - we caulked and recaulked the windows for years before we finally realized where it was coming from. I also chartered a 10.7 on Lake Superior and it had the same problem.
What we did is attach a large aluminum bar (3" by 1/4") to the chain-plate (we got longer bolts). Then we attached another aluminum bar to the main stringer running along the hull (at bunk height). I think there was a plate welded at 90 deg (like a "T") so we could thru-bolt to the stringer. Then we disconnected the shrouds on that side, put some weight on the deck to push it back down and connected the two aluminum bars in the middle with bolts. We may have drilled a couple holes and used a come-along to pull them together, I don't remember. It is important to pull the deck back into place and put some serious tension on the bars. We also ground the deck (from the outside) down past the gel-coat and re-glassed the surface and re-did the non-skid so it would not leak. It has held for 10 years so far with no movement whatsoever. We beefed up the stringer in that area with wood and glass to spread the load out.
We had to cut and re-sew the upholstery on the bunks to fit around the bars on each side. We also cut the plywood bunk flats, the shelves on each side, and the lockers.
I don't remember which chain-plates we did, I know for sure we did the aft ones on each side because now there is this big aluminum bar going through the locker under the deck on each side. The uppers connect to the main bulkhead, right? I think we did something there also but don't remember for sure. This is the bulkhead that came loose from the hull about 3 years after we added the bars - the stress must have shifted to the bulkhead. We glassed those back in - that's a big job in itself.
Notes: Fiberglass does not stick to aluminum, you have to bolt it. You probably should remove the mast when doing it.
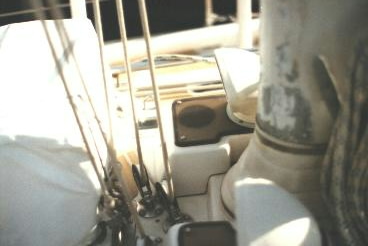
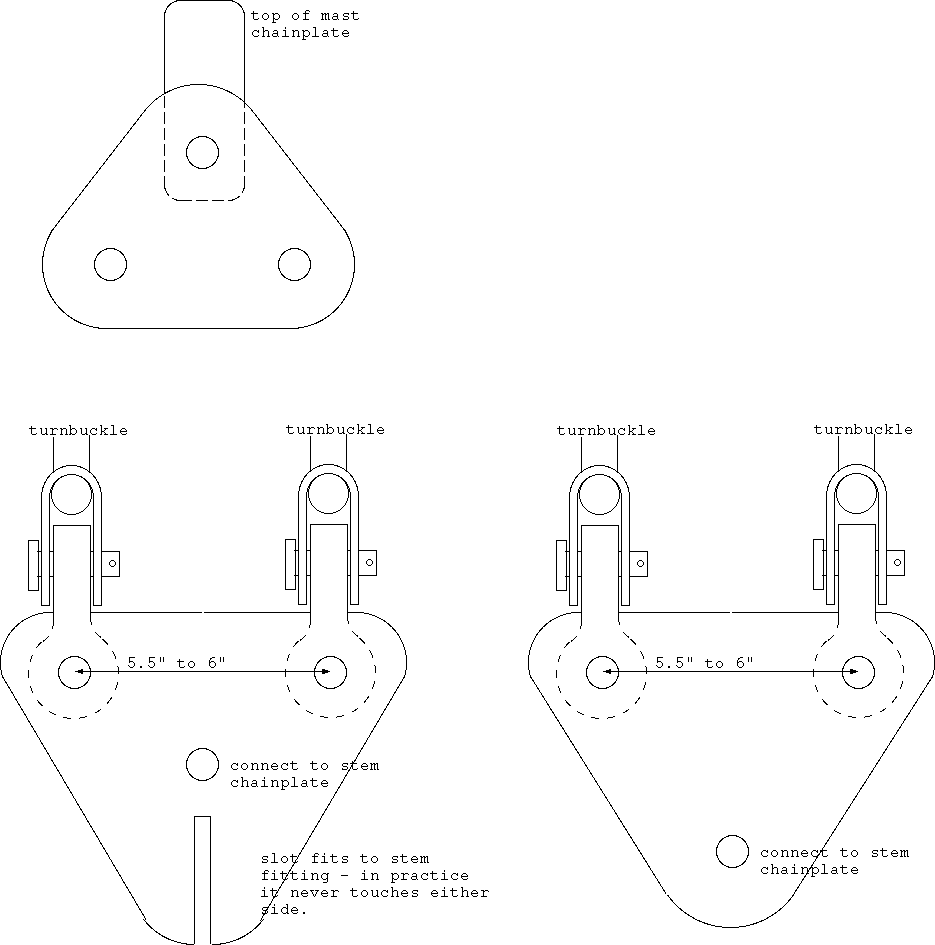
Here is a sketch of the double fore-stay system we used on the Dahlfin. It is not to scale. We have a roller furler on one side and a regular stay on the other side. The stay diameter on the roller furler side is smaller due to requirements of the furler - there is no reason why they can't be the same size. Originally we thought that 1/3 of the load would be on the furler side and 2/3 on the other, we now think it is pretty much 50/50. There is a turn-buckle on each stay so this can be adjusted.
The stem on the Dahlfin has a chain-plate with a cast aluminum piece at 90 degrees to the chain-plate - the drawing on the left shows the bottom plate for that arrangement. The plate has to have a slot cut into it to fit around the stem fitting. Originally, we also thought the slot would prevent the plate from rotating when one stay is loaded and the other is slack. In practice, the plate does not rotate at all! Intuitively this seems weird to me, if you have a stem like the Dahlfin, I would put a slot in the plate to keep it from rotating.
The drawing on the right shows the bottom plate with no slot, this is for a boat with just a chain-plate at the front.
The top plate is smaller since the fore-stays can be closer at the top. The plates can be made from 3/16" to 1/4" stainless plate, depending on the size of your boat. You could use aluminum also, it is much easier to work with. Making it the same size as your chain-plates would be a good rule of thumb. We used two S.S. plates at the base, one on each side of the chain-plate. We used one plate at the mast top but made it a bit thicker.
The distance between the fore-stays (at the deck) is the radius of your roller furling drum plus an inch or so to be able to hank on a sail on the other stay. For the Dahlfin, this measurement turned out to be about 5.5" to 6", I can't remember exactly. At the mast top, the stays are closer together so the holes in the plate are about 3" to 3.5" apart.
In the diagram I show a couple of 90 degree twist fittings, these are probably not required if you build the plate right. We used them because the turn-buckle fitting did not reach far enough in to get the hole in the plate.
I have a similar system on my boat. Since my boat is aluminum, I just welded the base plate right to the stem. This way there is no worry about it rotating.
The key measurements are the roller furler drum radius and the stay lengths. We did all this with the mast up, it took a few trips up to get it right. Also, it raises your drum up a bit and it may interfere with the bow pulpit.
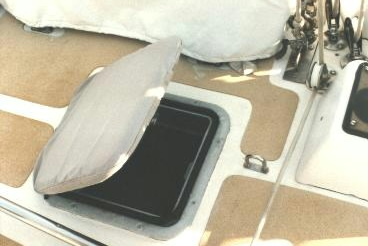
The hatch cracked many years ago. We fixed it with a sheet of smoked lexan (polycarbonate) 1/2" thick. We made two forms from mahogany that are flat on the bottom and curved outward on the top. The lexan was bolted to these forms to give it a slight convex shape, about 2 to 2 1/2" in the middle of the hatch. There is one form at the front of the hatch and one at the back. It has lasted over 12 years so far and is very strong. The forms do not go all the way to the edge of the hatch because of the slide tracks on each side. Be sure to over-drill the holes through the lexan (for expansion - see Dashew's book) and sand the edges so no cracks form. Woodworking tools with carbide blades work well. I usually use a drill press for the holes to get them well formed and a table saw to rough out the shape. Then I stick a sandpaper disk to the table saw blade and use that to shape the corners.
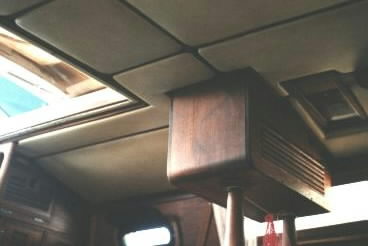
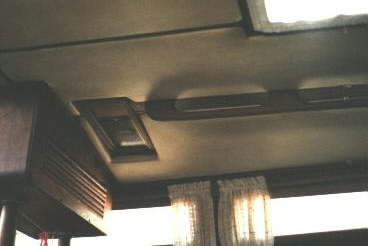
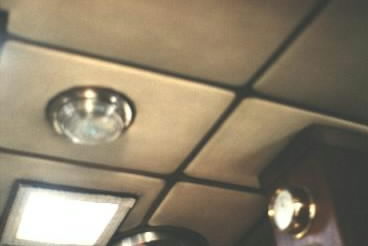
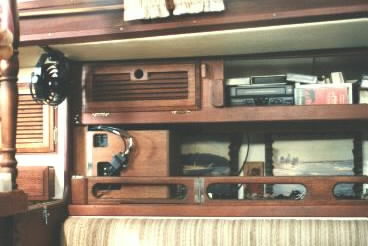
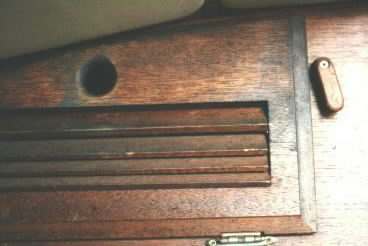
A panelized ceiling was made by sub-dividing the ceiling with strips of wood. In each area 1/8" plywood was cut to fit in the area and covered with padded vinyl fabric (1/2" padding, 1/8" vinyl fabric, quite thick) and stapled the edges to the back of the plywood like you would cover a sofa. Monel staples were used. Velcro strips were stapled to the back of the plywood to hold it to the ceiling. With the plywood, padding, and vinyl there could be some condensation behind it because it was not held that tightly to the ceiling. Maybe a layer of closed cell foam between the deck and plywood and a more secure fastening system would help that situation. The nice thing about panels is it is easy to check for leaks and get to the backside of thru-bolts.


